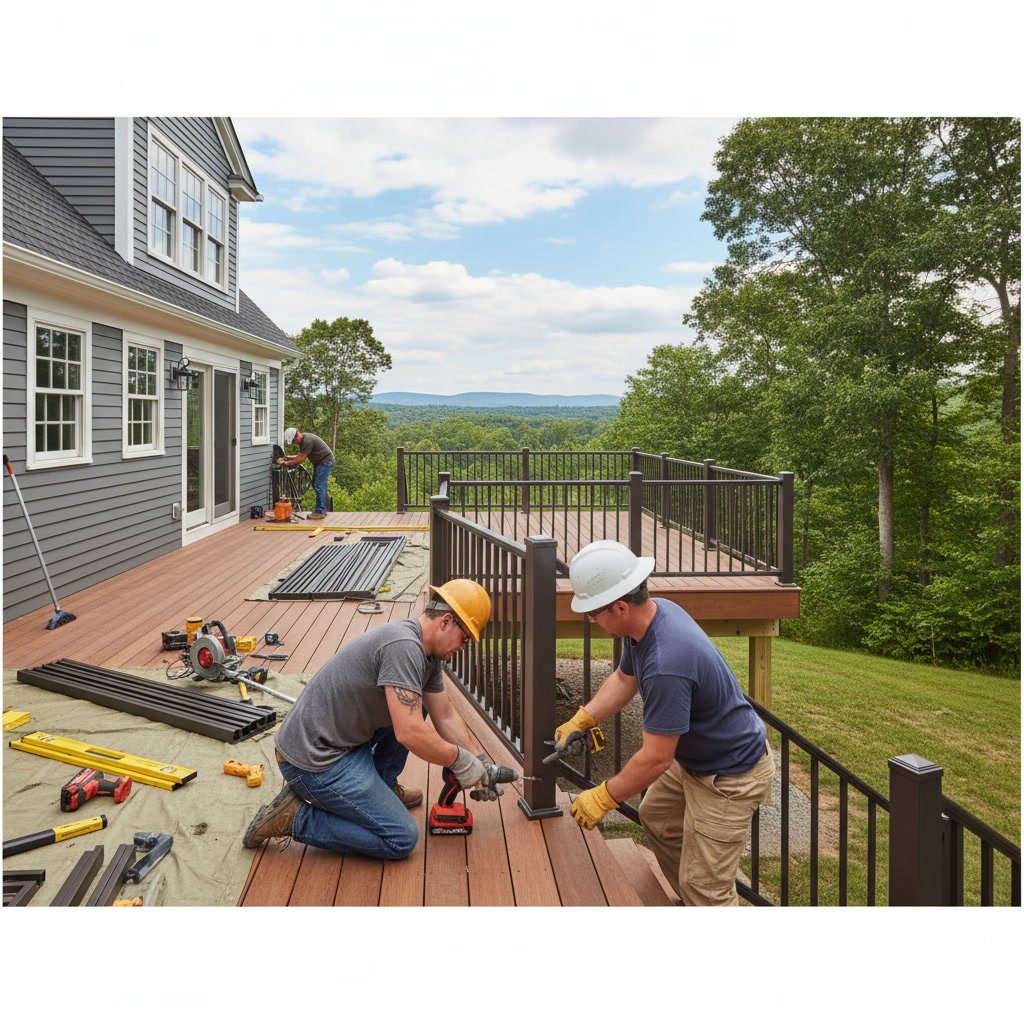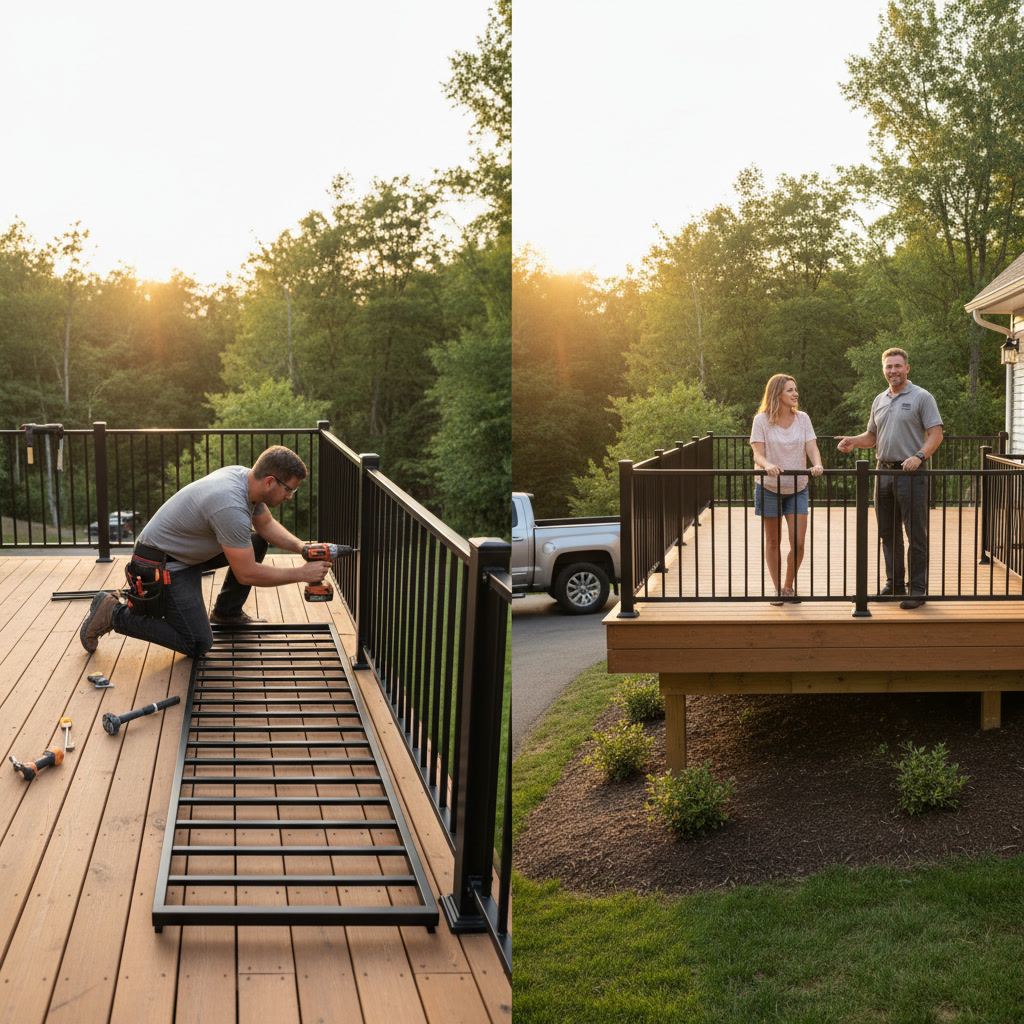
Your deck is nearly complete, but the railings remain. You’re weighing whether to install deck railings yourself or bring in a professional contractor. The decision affects your budget, your timeline, and most importantly, the safety and compliance of the finished project. This guide breaks down what each option involves, what you need to know about local building codes, and how to choose the path that makes sense for your situation.
We’ll cover the tools and skills required for a DIY installation, the hidden costs that often surprise homeowners, and when professional help becomes the safer, smarter choice. By the end, you’ll have a clear picture of what it takes to get your deck railings right the first time.
What It Takes to Install Deck Railings Yourself
A DIY deck railing installation demands more than weekend enthusiasm. You’ll need a specific set of tools, a solid understanding of structural principles, and familiarity with Massachusetts building codes.
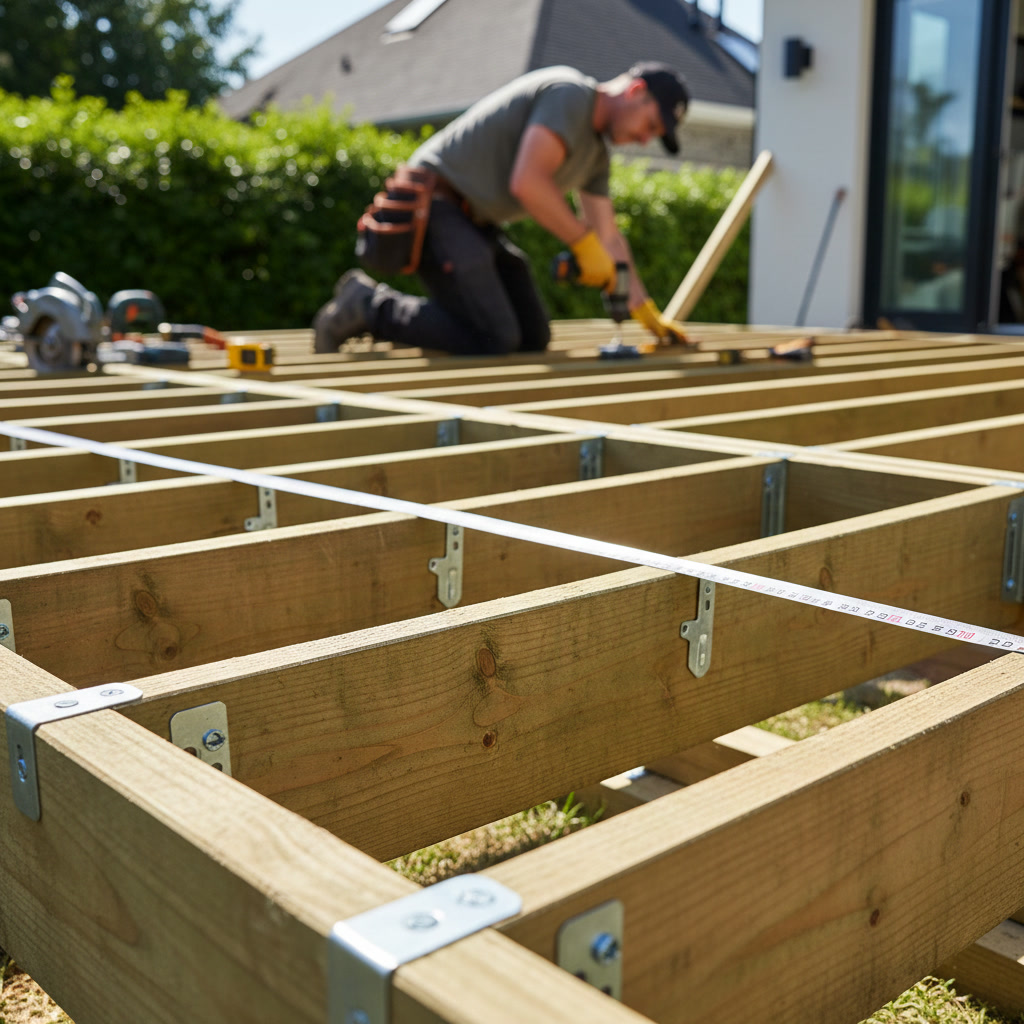
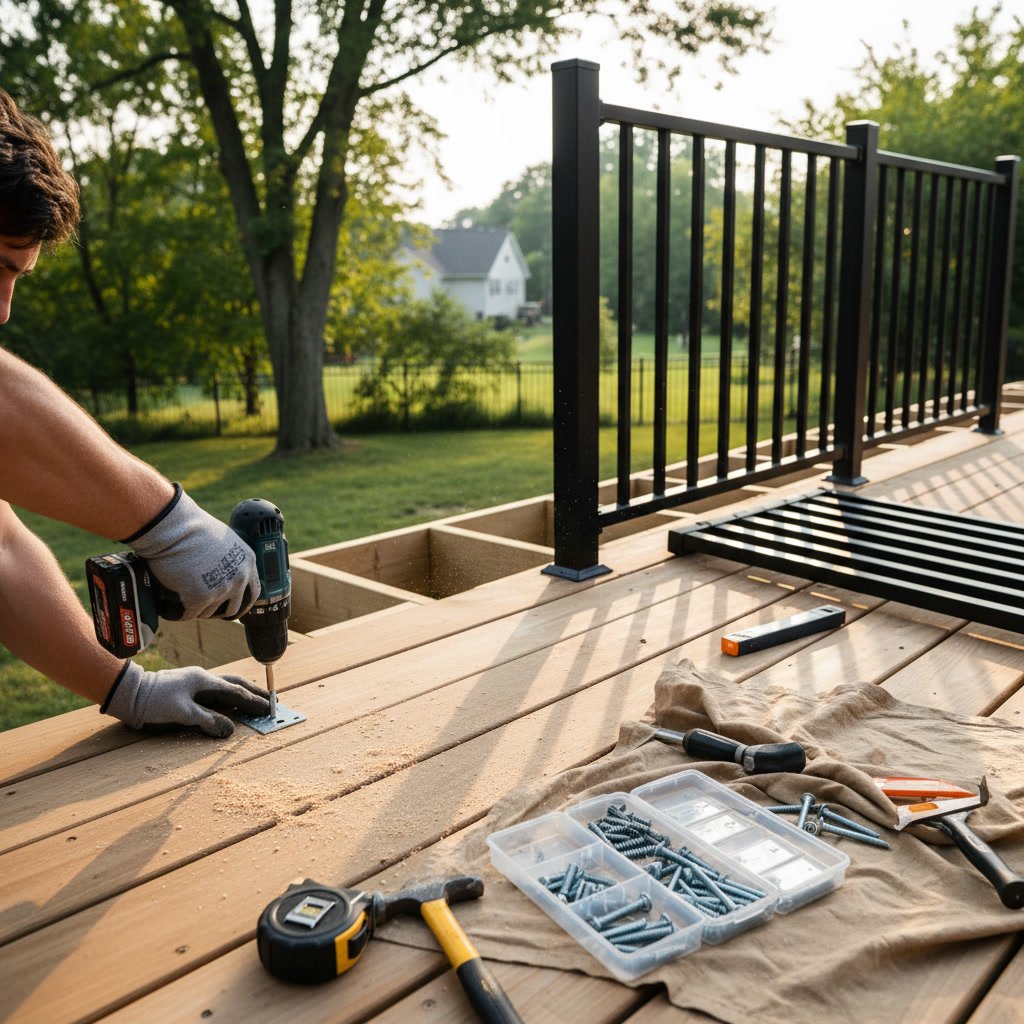
Most deck railing projects require a miter saw, drill with assorted bits, level, tape measure, speed square, and post level. If you’re working with metal railings, add an angle grinder and metal-cutting blade to that list. Wood railings need a circular saw and possibly a router for decorative profiles.
Beyond tools, you need to understand load requirements. Massachusetts residential code typically requires railings to withstand a 200-pound concentrated load and a 50-pound per linear foot distributed load on the top rail. Your posts must be spaced correctly, typically no more than six feet apart, and securely anchored to the deck frame or fascia.
The installation process involves laying out post locations, securing posts plumb and at correct heights (36 to 42 inches for most residential applications), installing top and bottom rails, adding balusters at proper spacing (no more than four inches apart to prevent child entrapment), and finishing with post caps or decorative elements.
Pro Tip: Before purchasing materials, verify your local building department’s specific requirements. Towns like Framingham and Worcester may have variations in code interpretation that affect post spacing, height requirements, or acceptable materials.
The Real Cost of DIY Deck Railing Installation
The appeal of DIY often starts with perceived savings. Materials for a basic wood railing system run between $15 and $35 per linear foot. Composite or vinyl systems cost $30 to $60 per linear foot. Cable railing systems start around $50 per linear foot, while aluminum or steel railings range from $40 to $100 per linear foot.
For a typical 12×16 foot deck requiring 56 linear feet of railing (three sides), material costs alone range from $840 for basic wood to $5,600 for premium metal systems.
Hidden costs add up quickly. If you don’t own the necessary tools, expect to spend $300 to $800 on equipment purchases or rentals. Mistakes in measurement, cutting, or installation can waste materials. One incorrectly cut top rail or damaged post means another trip to the lumber yard and additional expense.
Time represents another significant cost. A confident DIYer might complete a straightforward railing installation in two to three full days. Complex designs, unfamiliar materials, or challenging deck configurations can stretch the project to a week or more of evenings and weekends.
Building permits add $50 to $200 depending on your municipality. Many homeowners underestimate this requirement, but railings installation typically requires a permit and inspection in Massachusetts, whether you do the work yourself or hire a contractor.
What Professional Installation Actually Costs
Professional installation typically costs $50 to $120 per linear foot, including materials and labor. That same 56-linear-foot railing project runs $2,800 to $6,720 professionally installed, depending on material choice and design complexity.
The price difference between DIY and professional narrows considerably when you factor in tool purchases, permit fees, inspection corrections, and the value of your time. For homeowners in Wellesley, MA or Brookline, MA, professional installation often proves more cost-effective than expected.
Building Code Compliance and Permit Requirements
Massachusetts requires building permits for most deck railing installations, especially on elevated decks. The state residential code sets minimum standards, but local municipalities enforce these codes and may add their own requirements.
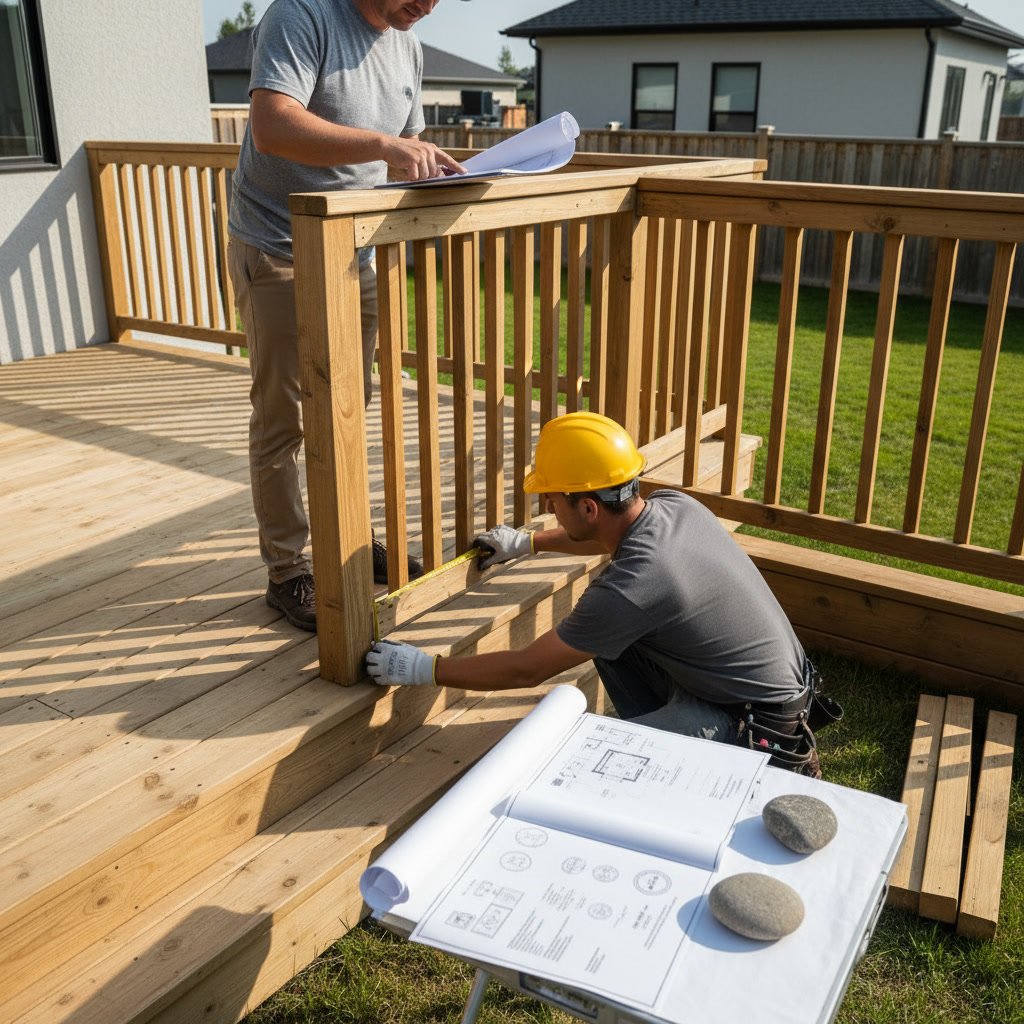
Key code requirements include railing height between 36 and 42 inches measured from the deck surface, baluster spacing no greater than four inches (the sphere test), and structural capacity to resist specific loads. Posts must be properly attached to the deck structure, not just the decking surface.
DIY installers often run into trouble during inspections. Common violations include improper post spacing, insufficient fastener size or placement, incorrect baluster spacing, and inadequate load-bearing connections. Each violation requires correction before the inspector will approve the work.
Professional contractors carry Massachusetts construction supervisor licenses and maintain current knowledge of building codes. They know what local inspectors look for and build to those standards from the start. When issues do arise, licensed contractors have established relationships with building departments to resolve them quickly.
The consequences of non-compliant railings extend beyond failed inspections. If someone is injured due to railing failure, your homeowner’s insurance may deny the claim if the installation wasn’t code-compliant or permitted. This liability risk alone makes proper installation critical.
Safety Considerations for DIY Deck Railing Projects
Deck railings serve one primary purpose: preventing falls. A railing that looks good but fails structurally puts your family and guests at serious risk.
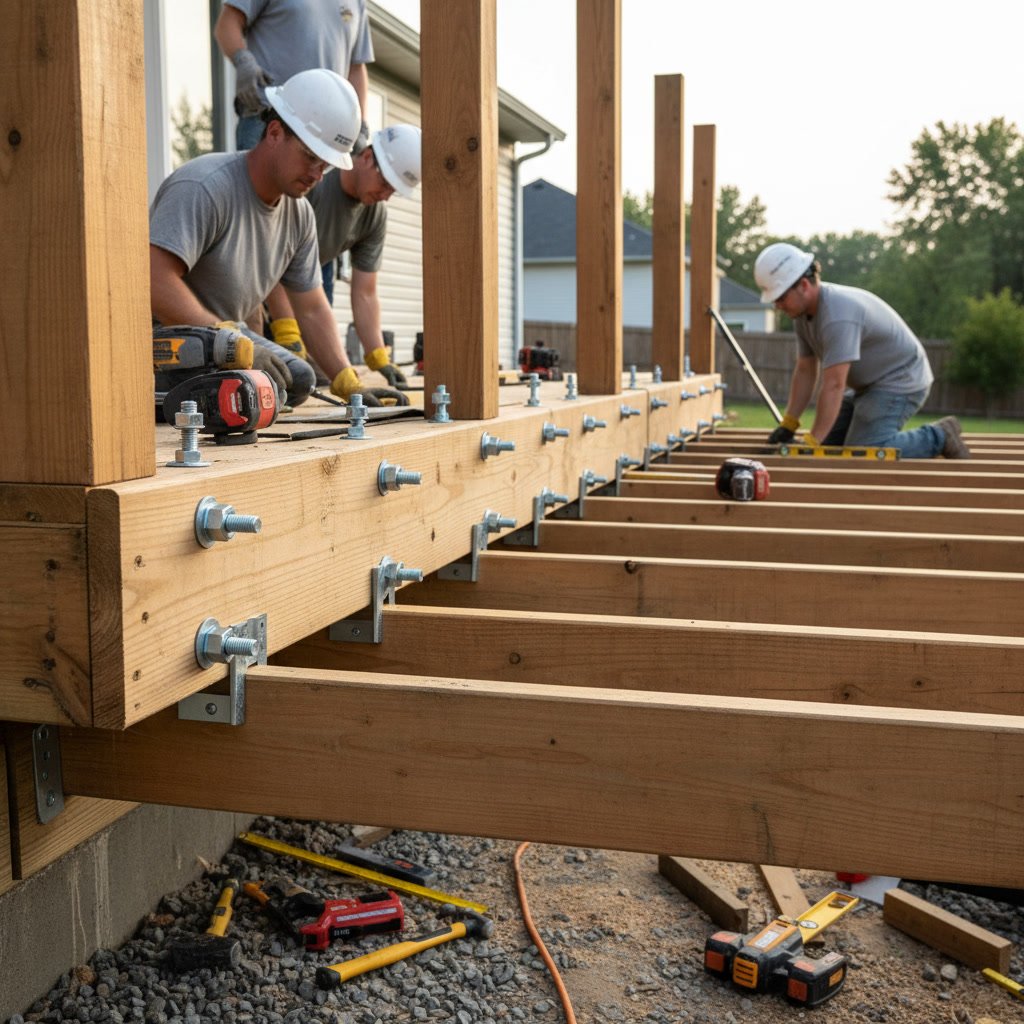
Common DIY mistakes compromise safety. Attaching posts to deck boards instead of the structural frame creates a weak point that can fail under load. Using exterior screws instead of proper lag bolts or through-bolts reduces connection strength. Spacing posts too far apart allows the railing system to flex beyond safe limits.
Working at height presents its own hazards. Installing railings means working at the deck edge, often six to 15 feet above ground. Without proper fall protection and a secure work platform, the installation process itself becomes dangerous.
Material choice affects long-term safety. Pressure-treated lumber requires proper fasteners; standard screws or nails corrode quickly when in contact with treated wood. Composite materials need specific fastening systems designed for their expansion and contraction rates. Metal railings require appropriate welding or mechanical connections depending on the system.
Professional installers use proper fall protection equipment, understand material-specific installation requirements, and recognize structural red flags that might not be obvious to homeowners. They also carry liability insurance that protects you if something goes wrong during installation.
When DIY Makes Sense for Your Railing Project
Some situations favor a DIY approach. If you have carpentry experience, own the necessary tools, and feel comfortable working at height, a straightforward railing installation on a simple rectangular deck might be within your capabilities.
Ground-level decks present lower risk than elevated structures. A deck that sits 12 inches off the ground requires railings by code if it’s more than 30 inches above grade at any point, but the consequences of installation errors are less severe than on a second-story deck.
Pre-fabricated railing kits simplify installation significantly. These systems include pre-cut rails, balusters, and hardware designed to work together. You still need to set posts correctly and ensure code compliance, but the assembly process becomes more straightforward.
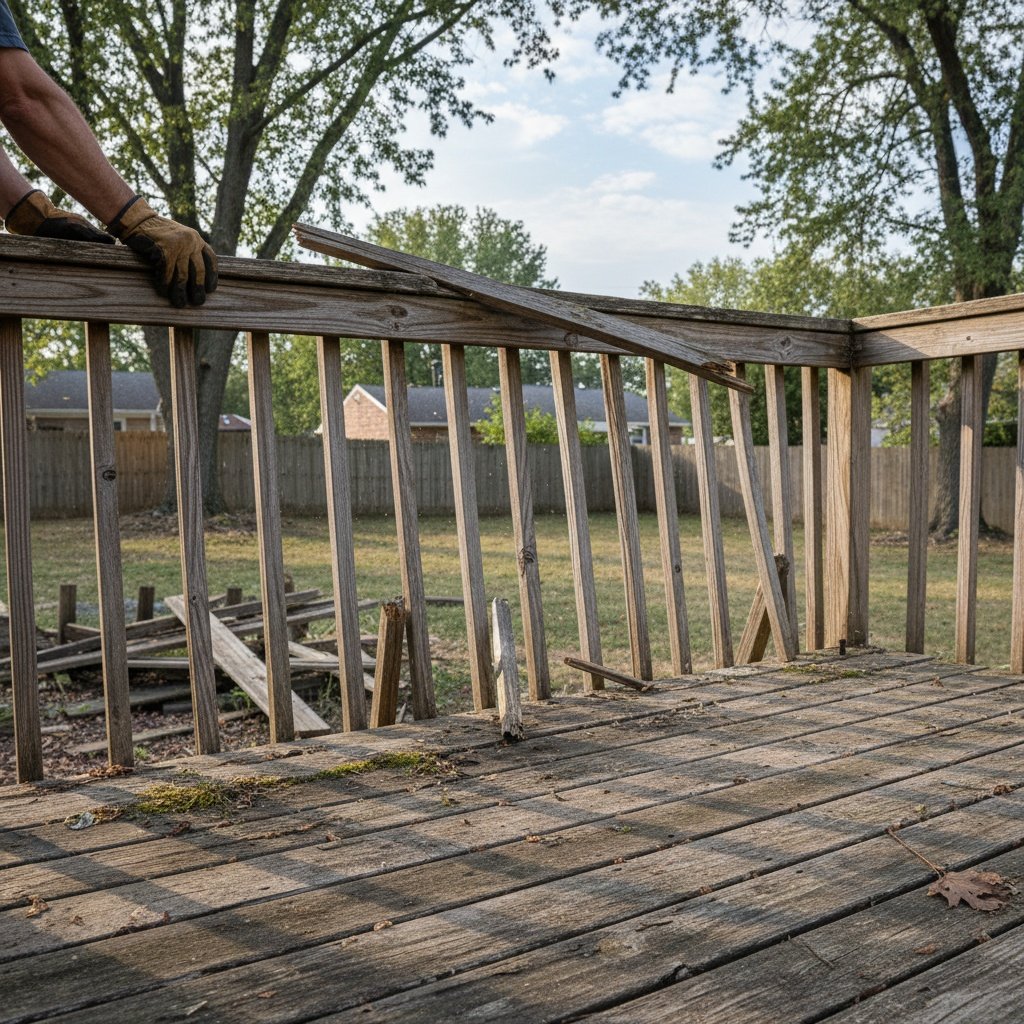
If you’re replacing existing railings with the same material and design, and the original posts are still sound and properly positioned, swapping out rails and balusters becomes a manageable weekend project for someone with basic skills.
Key Takeaway: DIY deck railing installation makes the most sense for experienced DIYers working on simple, ground-level decks using pre-fabricated systems, where the risk of serious injury from installation errors or railing failure remains relatively low.
Why Professional Installation Often Delivers Better Value
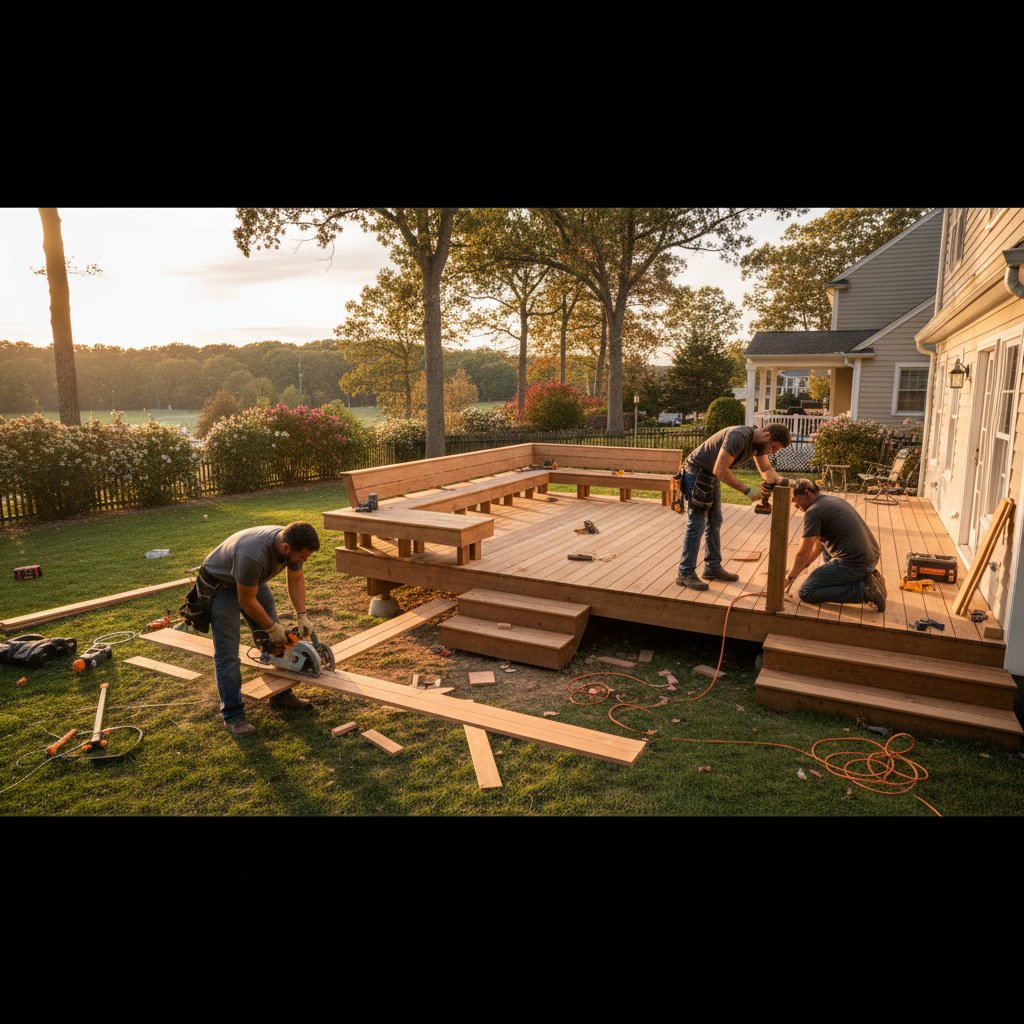
Professional contractors bring efficiency that DIY projects rarely match. What takes an experienced homeowner two to three days of work, a professional crew completes in four to eight hours. They arrive with the right tools, correct materials, and proven installation methods.
Professionals also handle the permitting process. They know what documentation the building department requires, when to schedule inspections, and how to address inspector concerns. This alone saves hours of frustration for homeowners unfamiliar with local building departments.
Warranty protection provides significant value. Reputable contractors guarantee their work, typically for one to five years. If a post loosens or a rail sags, they return to correct it at no additional cost. DIY installations carry no such protection; you’re responsible for fixing any problems that develop.
Design expertise helps maximize your deck’s potential. Professional installers have completed dozens or hundreds of railing projects and can suggest design improvements, material combinations, or layout modifications you might not consider. They’ve seen what works in New England weather and what fails after a few freeze-thaw cycles.
The finished quality typically exceeds what most DIYers achieve. Professional installations feature crisp joints, consistent spacing, plumb posts, and level rails. These details affect both appearance and longevity. When you’re investing thousands of dollars in deck installation, the railings should match that quality level.
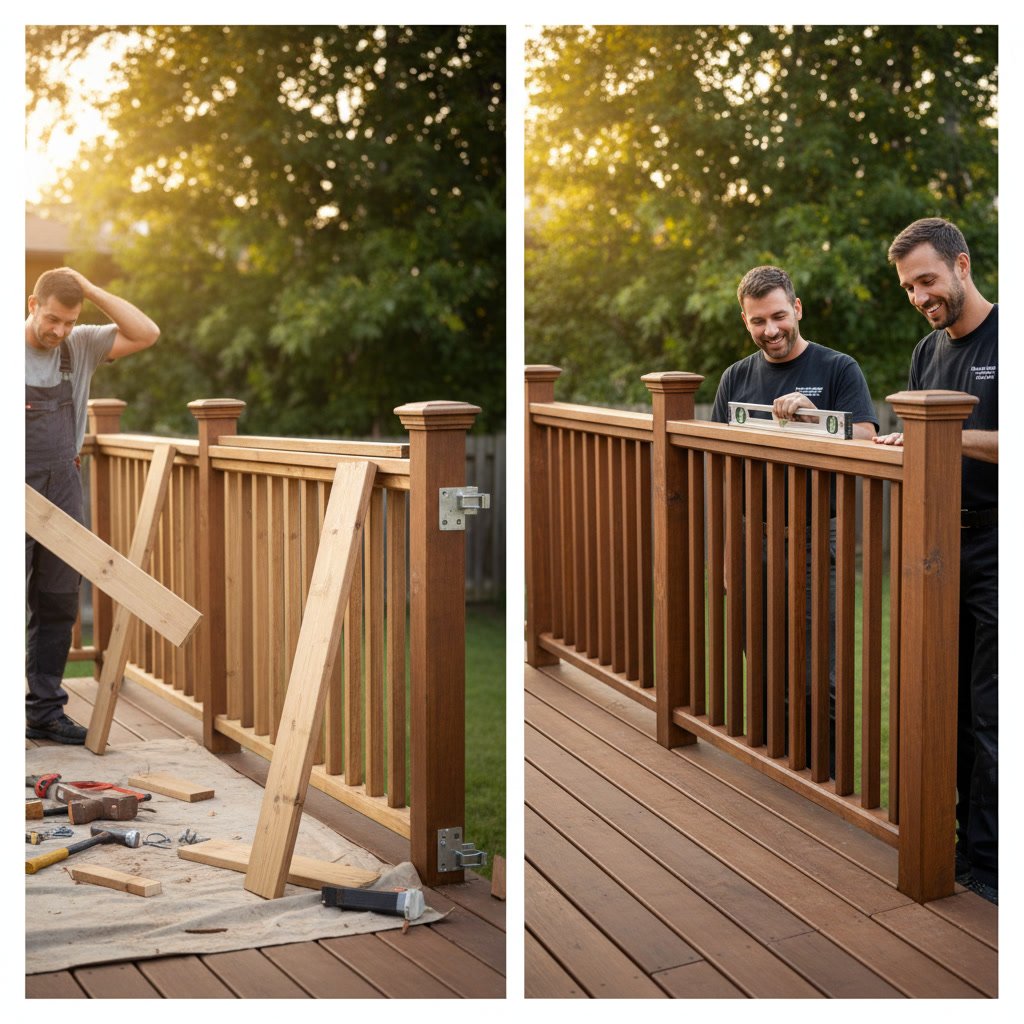
How to Choose Between DIY and Professional Installation
Start by honestly assessing your skills and experience. Have you completed similar projects successfully? Do you feel confident reading building codes and applying them correctly? Can you work safely at height for extended periods?
Evaluate your deck’s complexity. A simple rectangular deck at ground level presents fewer challenges than a multi-level deck with angled corners, stairs, and 12-foot elevation. Complex projects multiply the opportunities for costly mistakes.
Consider your timeline. If you need the deck completed for a specific event, professional installation guarantees the schedule. DIY projects often take longer than anticipated and face weather delays, material availability issues, and unexpected complications.
Calculate the true cost difference. Add up materials, tools, permits, and a realistic assessment of your time. Compare this to professional quotes. Many homeowners in Newton, MA and Natick, MA find the price gap narrower than expected, especially for their first railing project.
Think about liability and risk. Your deck railings must protect family and guests for years to come. The stakes are high enough that many homeowners choose professional installation for peace of mind, even if DIY seems technically feasible.
Get professional quotes before deciding. Contact licensed contractors to understand what professional installation costs for your specific project. You might discover that professional service fits your budget better than expected, or that certain design elements you wanted are only practical with professional help.
What to Expect When Hiring a Professional Contractor
Professional deck railing installation begins with an on-site consultation. The contractor measures your deck, discusses material options, reviews design preferences, and explains local code requirements. Expect this initial visit to take 30 to 60 minutes.
A detailed written estimate should follow within a few days. This proposal should specify materials by type and grade, include labor costs, note permit fees, and provide a timeline for completion. Be wary of vague estimates or contractors unwilling to put details in writing.
Licensed contractors handle permit applications and schedule required inspections. They coordinate timing so inspections don’t delay your project and address any inspector concerns promptly.
During installation, professional crews work efficiently and maintain job site organization. They protect existing deck surfaces, clean up daily, and minimize disruption to your household. Most railing installations are complete within one to three days depending on project size.
After installation, the contractor schedules the final inspection. Once approved, you receive documentation confirming code compliance. This matters for insurance purposes and future home sales.
Companies like ANJO Home Improvement Inc, serving communities throughout the Framingham, MA area, bring licensed expertise and carry full insurance. This protects homeowners from liability during installation and ensures work meets Massachusetts building standards.
Frequently Asked Questions
Do I need a permit to install deck railings myself in Massachusetts?
Yes, most municipalities in Massachusetts require permits for deck railing installation, especially on elevated decks. Contact your local building department before starting work. Unpermitted installations may need to be removed and reinstalled to pass inspection, and you could face fines.
How long does it take to install deck railings yourself versus hiring a professional?
A DIY installation typically takes two to five days for someone with moderate carpentry skills, depending on deck size and complexity. Professional contractors complete the same project in four to 16 hours, usually finishing within one to two days including cleanup and inspection.
What happens if my DIY deck railing installation fails inspection?
You must correct any code violations before the inspector will approve the work. This might mean removing and reinstalling posts, adjusting baluster spacing, or reinforcing connections. Each re-inspection may require additional fees. Serious violations could require completely redoing portions of the installation.
Can I install different railing materials myself, or do some require professional installation?
Wood and some composite systems are more DIY-friendly, while cable railings, glass panels, and welded metal systems typically require professional installation. These materials need specialized tools, specific technical knowledge, and precise execution to meet code and perform safely. When considering whether to install deck and railing systems together, material choice significantly impacts the difficulty level.
How much can I actually save by installing deck railings myself?
Material-only costs represent 40 to 60 percent of professional installation pricing. However, after adding tools, permits, potential material waste from mistakes, and the value of your time, actual savings often shrink to 20 to 30 percent. First-time installers may save little to nothing after accounting for all factors.
Making the Right Choice for Your Deck Project
The decision to install deck railings yourself or hire a professional comes down to your skills, your project’s complexity, and how much risk you’re comfortable accepting. Simple projects on ground-level decks suit capable DIYers, while elevated decks, complex designs, and premium materials favor professional installation.
Code compliance isn’t optional. Your railings must meet Massachusetts building standards regardless of who installs them. Professional contractors bring code knowledge, proper installation techniques, and accountability that protects your investment and your family’s safety.
ANJO Home Improvement Inc provides licensed, insured deck railing installation throughout Hudson, Marlborough, Worcester, and surrounding Massachusetts communities. Our team handles permits, ensures code compliance, and delivers quality craftsmanship backed by our guarantee. If you’re ready to discuss your deck railing project, call us at +17745056597 to schedule a free consultation.